Thursday, December 10, 2009

Print and Give: Want, Read, Wear, Read Gift Tags


Gift tags perfect for those of you who do Christmas like we do!
"Something you want, something you need, something to wear, something to read!"
Here's to a simpler, stress free Christmas!

Download the PDF here!


Wednesday, December 9, 2009

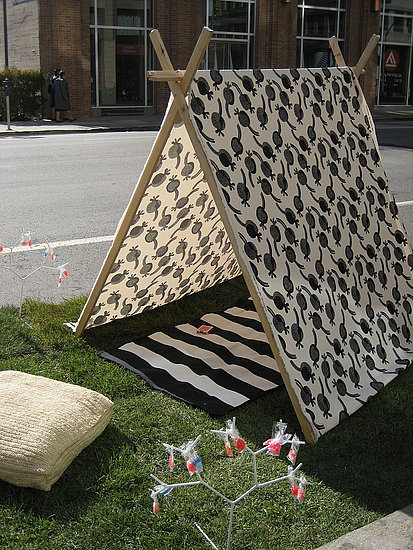
DIY: Pup Tent

Living here in Cleveland you have to learn to either love being outside in all kinds of weather or get really creative with keeping the kids inside. Although Fall and Winter are my favorite seasons, for me I really enjoy being cozy inside while the snow swirls and falls outside of my window. Therefore, I am already thinking about things to keep the little ones entertained while we are inside.
Having such little ones around means that my choices are a little more limited as they are not ready yet for complex crafting. For them playing dress up, playing with cars, and reading are really what they love to do. So over winter break I am planning on making them this wonderful DIY: Pup Tent from Casa Sugar!!

Here are the directions and materials needed: (I can't wait to get started!)

What You'll Need
  • Three yards of cotton fabric (upholstery weight is best)
  • 20 half-inch finishing screws
  • Power drill
  • Four two- to three-inch wood screws
  • Four six-feet-long boards, anywhere between four and six inches wide
  • One one-inch square, five-foot-long board
  • A friend who can hold the structure as you're building it
To find out how to do it, read more.
  1. Measure your fabric. If you get three yards of fabric, each wall of your tent should be 54 inches long. Most fabric is around 56 inches wide as well.
  2. Mark your one-inch-square board so it has some overlap on each end with enough room in between for the width of your fabric. If your board is five feet long, that means you will have about two inches on either end for the board.
  3. Next, measure each of your six-foot-long boards and mark them at the length of half of the length of your fabric (if you get four yards of fabric, you should mark boards at 52 inches).
  4. Now, with your long screws, screw two boards so they form an X. (See photo.) Repeat on other two long boards. This will be the top of your structure.
  5. Now, have your friend hold one end of the two boards, while you hold the other. Place the one-inch-square board between the X in your boards.
  6. Move the one-inch-square board so the marks you made overlap the X. Now, screw this board into the notch of the X with the last two long screws. Your tent now has the basic structure finished. You can set it on the floor and it will stand up by itself.
  7. With your friend's help, drape the fabric over the pup tent structure. Make sure that it is even on each side Have your friend hold the fabric very taut. Then, with your short finishing screws and power drill, drill five screws, from top to bottom, into each edge of the fabric along the sides of the boards.
  8. You're done! Enjoy your pup tent!
  9. Note: You can increase or decrease the measurements of the tent to suit your needs.
Here are some other teepee and tent links that may get those winter camping ideas swirling!!
DIY Teepee
Princess Pavilion Tent
No Sew Teepee
Felt Playhouse
Or you can just order one already made from Etsy! (They are really pretty too!)

Tuesday, December 8, 2009

The List 2.5

How is everyone's Christmas and holiday shopping coming? I am pretty done thanks to keeping ourselves in check with the overspending, although I do feel the need to find a way to hang our Christmas lights outside.... (Our usual method isn't going to work since the lightbulb outlet is a lot smaller than the standard size.
Here are some things that have caught my eye... you will notice that I am loving felt projects a lot lately along with anything to do with peg and clothespin dolls!

I love making toys for the kids and think that I may get a pattern or two from this lovely Etsy shop to make some felt toys!! (@ Gulf Coast Cottage)

My girls have a combined total of well over 100 cars but I never let them leave the house since they get lost so easily. This adorable car cozy tutorial would be a great thing to make so they can take their favorites with them on trips! (@ Homemade by Jill)

I like to give little present toppers on special gifts and think that this cute felt posy pin would be perfect on a few this year! (@ Checkout Girl)

My girls are a little young yet for the magic of The Nutcracker, but I can always try to bring the ballet to them with their own play theatre!! (@ Angry Chicken)

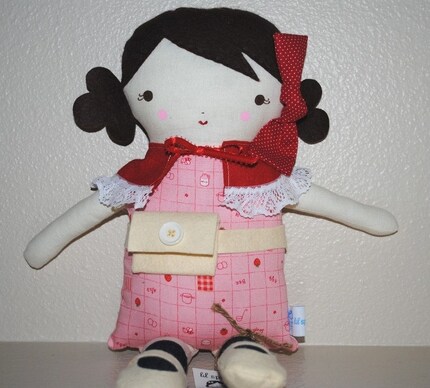
Nothing is sweeter than handmade dolls, I would love to have one of these Big Sister dolls made for AJ!! (@ Lil' Sprinkles)

That is all for now, back to making Spoolie dolls for my Etsy store!!

Monday, December 7, 2009

Advent Calendar Krebs Style

So I decided that instead of doing a traditional advent calendar I was going to combine two things that I love- fortune cookies and winter activities!! I took some felt and fun Christmasy fabric and made some adorable felt fortune cookies that each contain a fun thing to do from making white popcorn to making catnip toys to donate. They were super duper easy and I think I may even make some more to hang on the Christmas tree!


Sunday, December 6, 2009

Happy Anniversary Lovie!


Happy 6th Anniversary love!
What an adventure we have had so far and look at how far we have come.
From two nutty greeks that eloped to foreign lands to raising two girls in the 'burbs
complete with the bills and responsibilities.
I love you more and more each day and will sword fight with you anyday!


Thursday, December 3, 2009

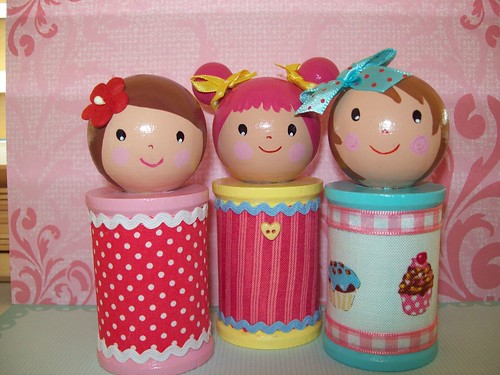
Spool Dollies Going to My Etsy Store Soon!


Aren't they cute?!
I am just putting the finishing details on everything
and they should be up in the store tonight!
Here are two other cuties that will be in the store!


Wednesday, December 2, 2009

Current Design Work


Since Thanksgiving my household has had this awful stomach bug....
man oh man have we been hit hard...
here are some designs that I had been working on before "The ICK" hit!

Monday, November 30, 2009

Two Projects Done!


I loved making the fairy door and the checkers set!!!
I think I may make another one for my Etsy store- pink ninjas vs. purple ninjas possibly?
I definitely want to make more fairy doors... I can't wait to put it on the wall and see the girls' reaction!


Sunday, November 29, 2009

Obsession- Wooden Dolls of All Kinds!


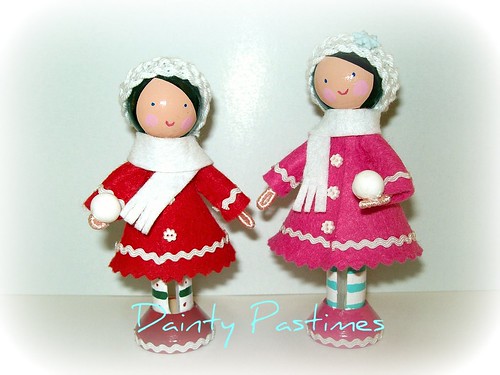
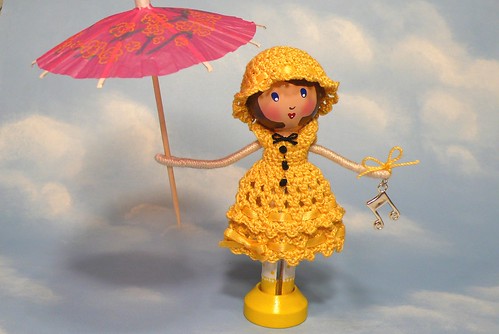
Spool Dollies by Sonia

Aren't these so wintery and pretty? Again, by Sonia!


(She has lots of them on Flickr that are stunning!)


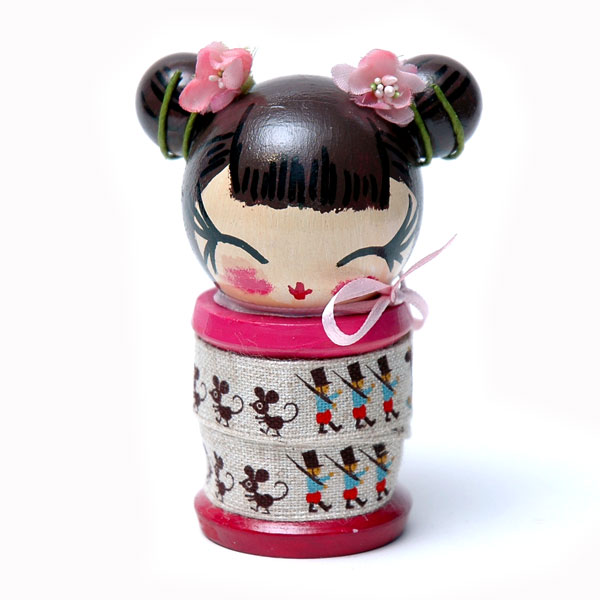
Here are some more links to Kokeshi Dolls!

Seriously, I have an addiction and I may have to seek help..
"Hello, my name is Connie and I am addicted to doll-making!"


Saturday, November 28, 2009

Just What I Do


This is what I am up to late at night.... gifts galore!
I was painting away so that I could varnish everything all at once,
the checkers set for Gabby, the fairy door for the girls, and lots of little dolls for various people.

I took this photo at the beginning of my painting session, about 8pm... now it is shortly after midnight and I can tell you that the fairy door is done, the checkers board is done, and the dolls are almost done. Yay! Everything needs varnish and finishing touches, but a successful craft night all in all!

Related Posts with Thumbnails